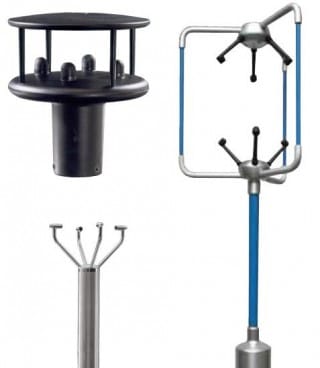
Description
Ultrasonic Anemometers are calibrated using the Department of Aeronautics and Astronautics wind tunnel at Southampton University.
This wind tunnel is of the closed circuit type with a single return duct according to the Prandtl scheme. The tunnel provides both high and low speed working sections. Ultrasonic Anemometers are calibrated in the high-speed section, which measures 2.1m x 1.5m x 4.4m (7ft x 5ft 14.5ft).
A 175KW dc motor driving a 6 bladed fan 2.7m in diameter provides the power.
Wind speed is computer controlled by University staff from a dedicated control room. All instruments used in determining wind speed are calibrated and traceable to national UKAS standards.
Calibration Procedure
The Anemometer under calibration is held on a custom-made fixture attached to the base of the wind tunnel so that the Anemometer head protrudes into the air stream. The Anemometer is aligned using a laser with the North arm pointing at a 0° reference mark located within the tunnel.
Ultrasonic Calibration Win Jig Test Software is used to control the complete system calibration process including the rotation of the Anemometer.
The Wind tunnel air speed is set to 12m/s and an un-calibrated run is performed on the Anemometer by rotating it through 360 degrees in 2 degree steps (1 degree for research Anemometers). The readings measured by the Anemometer are stored by Win Jig.
Win Jig then creates a calibration table unique to that Anemometer. This information is uploaded and stored in the Anemometers memory. Then, with the Wind tunnel air speed still set at 12m/s, the Anemometer is once again rotated through 360 degrees for a calibration check run with the measured values of the Anemometer stored and checked by Win Jig.
Calibration Results
Win Jig uses the calibration check run data to generate a graphical representation of the Anemometers 360 degree response at 12m/s.
The maximum allowable error is ± 1% rms at 12 m/s
Wind Tunnel results are retained on file for future reference.
Please note: Recalibrations will require an additional charge for a full test and any necessary repairs to return units to original specifications prior to calibration.

